Macroseismic Intensity Data Online Publisher


Database access
This page is dedicated to configure the connection between MIDOP and the MySql database server and the table names with your macroseismic data. You can use a server working on your computer or a remote server. In order to connect to the MySql server a user name and a password are required and, if using a remote server, your computer IP address must be accepted by the server.
The following settings boxes are available:
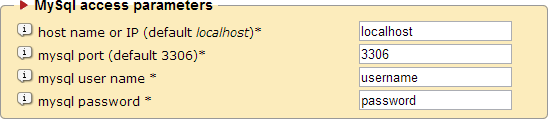
| Host name or IP | Set the host name or IP address where the MySql server is installed |
| MySQL port |
Set the user MySql server port (that the default MySQL port is 3306) |
| MySQL user name | Set the user name for opening a MySql connection |
| MySQL Password | Set the password for opening a MySql connection |

The MySQL manager allows you to perform the following tasks within MIDOP:
- Explore the structure of databases, tables and fields
- Drop existing databases and tables
- Add a primary key or index to a table
- Check the content of table fields
- Create a new database
The MySQL manager tool might cause loss of data, without the chance to undo your operations in order to restore your data.
Please, pay attention while using it, and think twice before dropping anything.
The following tasks can only be performed using third parties tools (e.g phpMyAdmin, MySQL Workbench, HeidiSQL, SequelPro):
- Upload new data to a MySQL server
- Download data from a MySQL server
- Modify existing data content
- Create a new table
- Rename databases, tables or fields names
- Move a table to a different database

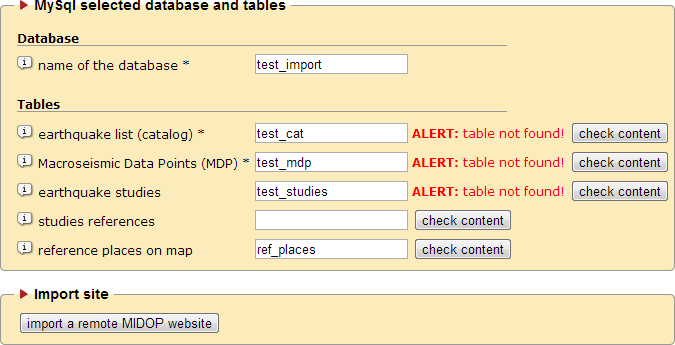
| Name of the databse | Set the MySql database name where all the needed tables are stored |
| Earthquake list (catalogue) | Set the table name with the earthquake catalogue list and macroseismic parameters |
| Macroseismic Data Points (MDP) | Set the table name with the macroseismic intensity database |
| Earthquake studies | Set the table name with the earthquake studies references. |
| Studies references | Set the table name with the references mentioned in the study table. |
| Reference places on map | Set the table name with places to be used as a geographical reference on maps |
Any website generated using MIDOP and then published online can be recreated on your local MIDOP installation.
Beware that this functionality still at an early stage, so it could end up with a partial or, in the worst scenario, impossible duplication.
This is particularly true if the MIDOP release used to generate the remote website is dated before October 2013 or not eved dated.
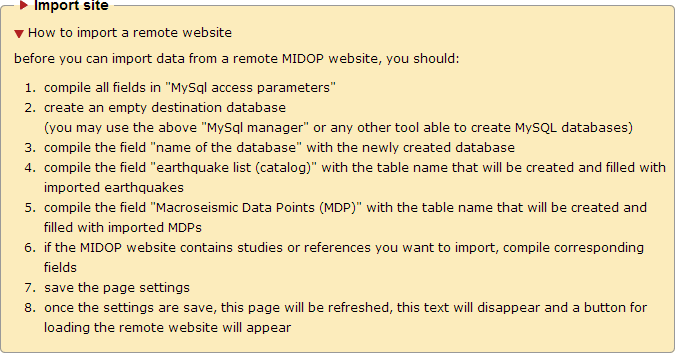
If you decide to import a remote website, you first have to create a new empty MIDOP website instance then following the procedure listed in the image above.
Once the new website is created, you have to specify an existing database used to store the imported tables,
and enter the name of new destination tables (not yet existing) that will be filled with the imported data, then save the page settings.
Once the current page settings are saved with the destination table names (don't worry about the alert message complaining that tables do not exists), press the button "import a remote MIDOP website".
By clicking the "import a remote MIDOP website" button a popup dialog will appear where you have to insert the remote website address.
If the remote website is protected with a password (using htaccess), you may insert here the requested username and password.
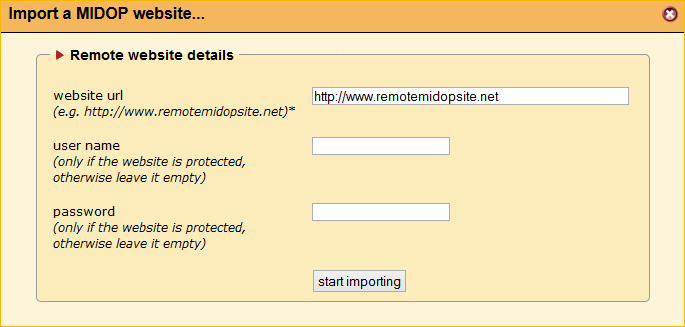
By clicking the button "start importing" you will be prompted with list of earthquakes loaded from the remote website. You may decide now to proceed importing all earthquake data or only a subset.
Once the remote website data and settings will be all imported, the control panel will reflect exactly the same settings used to build the remote website.
